
How to Install PU Stone Panels on Exterior Walls: A Practical Step-by-Step Guide
Learn how to install PU stone panels on exterior walls. Explore wall preparation, construction adhesive selection, panel installation, and finishing tips.
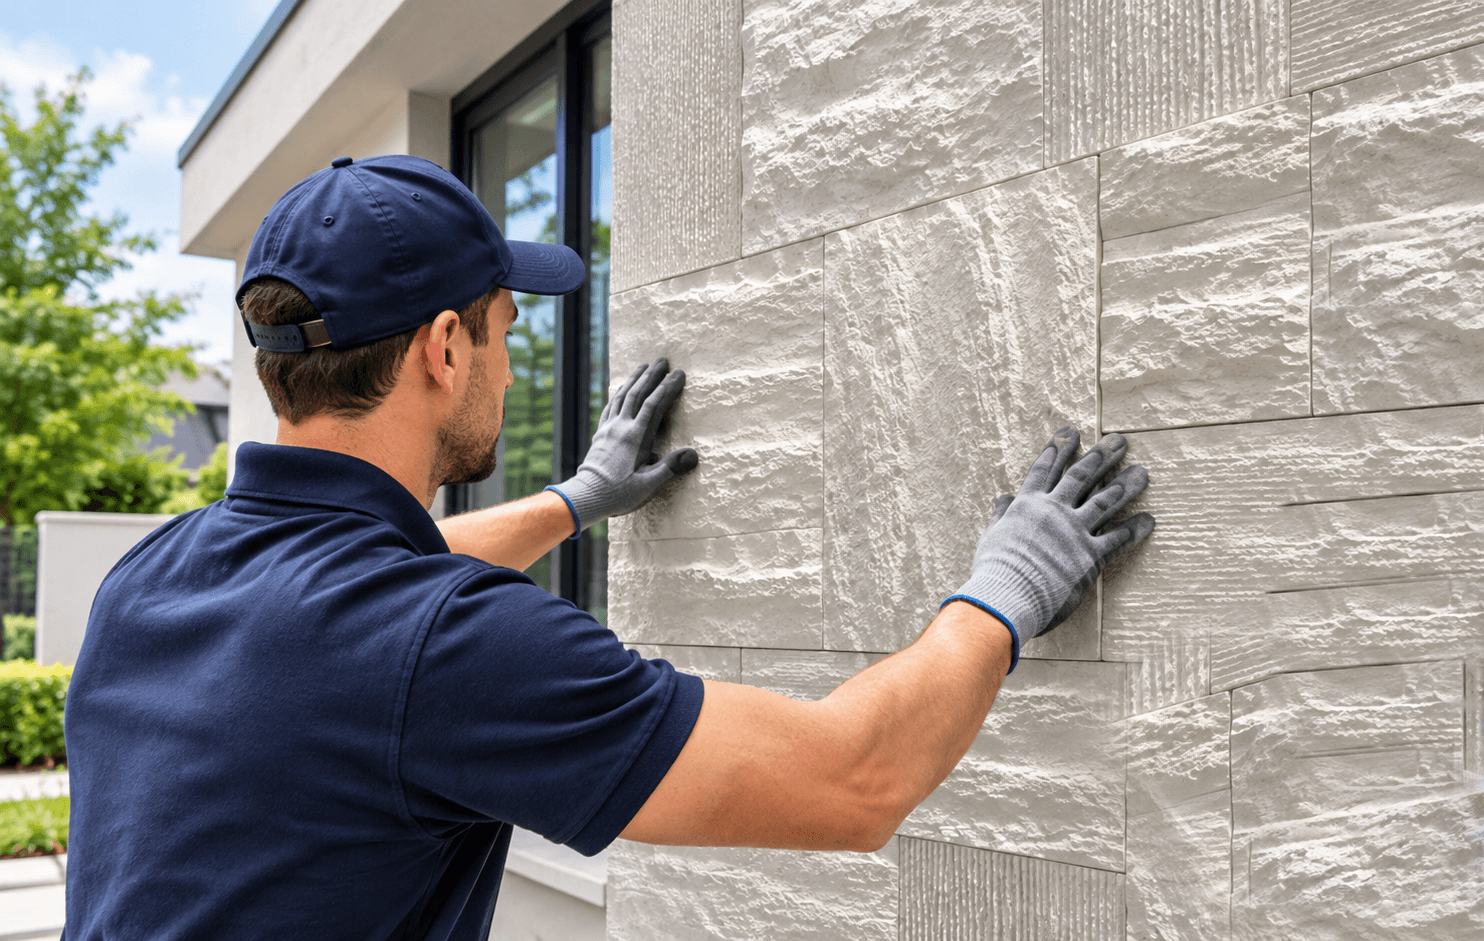
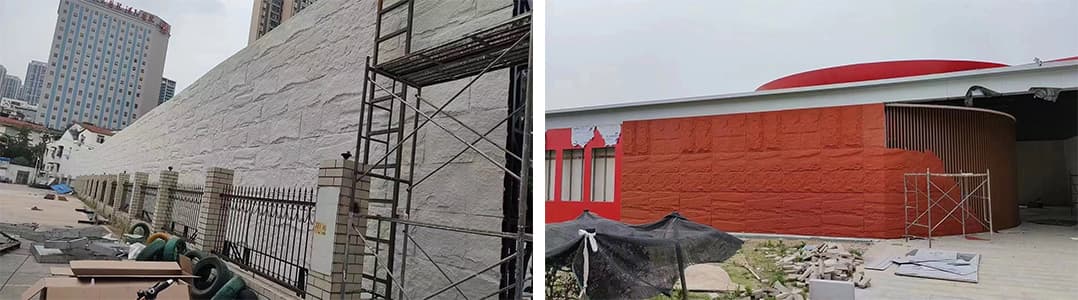
PU stone panels are a popular choice for exterior wall decoration. They offer the natural look of stone while being much lighter and easier to install than traditional stone materials.
However, outdoor installation requires proper surface preparation, suitable adhesive, and careful finishing. These steps help ensure a strong bond and a neat appearance.
If you are planning to use PU stone panels for an exterior wall, here is a simple guide to help you get started.
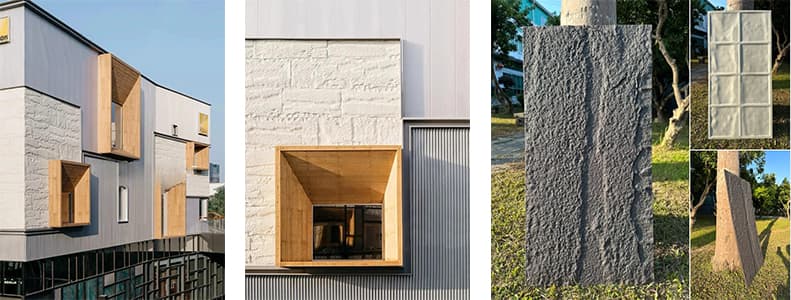
1. Prepare the Wall Surface
Before installing PU faux stone wall panels, check the wall condition. The surface should be solid, clean, dry, and relatively flat.
PU nature stone panels can be installed on suitable concrete walls, cement-rendered walls, and wooden board surfaces.
· For concrete or cement walls, remove dust, loose particles, and peeling coatings. Repair any damaged or uneven areas before installation.
· For wooden boards, make sure the boards are firmly fixed, stable, and suitable for outdoor use.
Do not install panels over damp, loose, or unstable surfaces, as this may affect the bonding strength.
2. Choose the Right Construction Adhesive
Choosing the right adhesive is important for exterior polyurethane stone panel installation.
We generally recommend using a suitable construction adhesive, such as compatible Sika adhesive products. The adhesive should be suitable for polyurethane materials, the wall substrate, and outdoor conditions.
For wooden board surfaces, a suitable nail-free adhesive can also be used as an additional bonding aid when compatible with the materials.
Always check the adhesive manufacturer's instructions for application, temperature, and curing time. Different adhesive products may have different requirements.
3. Prepare the Panels and Plan the Layout
Before applying adhesive, arrange the panels and check the layout. This helps create a natural stone pattern and reduces unnecessary cutting.
Pay attention to corners, windows, doors, and panel joints.
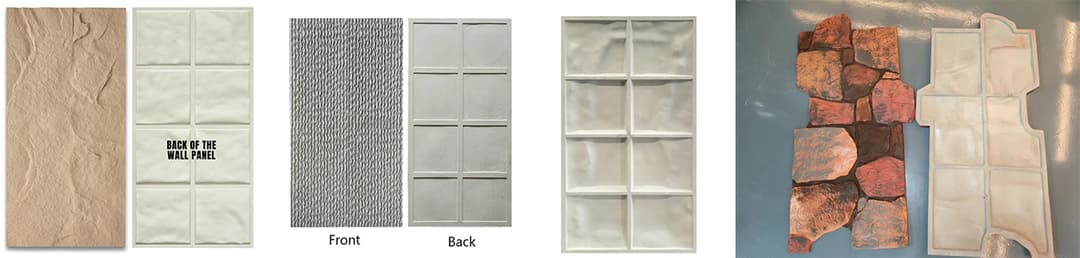
PU stone panels come in different designs, and their backside structures may vary. Some have a flat back, while others feature textured, hollow, or reinforced structures.
These differences affect where the adhesive should be applied. Make sure the adhesive is placed on suitable contact areas to achieve proper bonding.
4. Install the PU Stone Panels
Once the wall and panels are ready, follow these steps:
Step 1: Apply the adhesive
Use a caulking gun to apply construction adhesive to the appropriate areas on the back of the panel. Follow the adhesive manufacturer's recommendations for the application pattern and amount.
Step 2: Position the panel
Place the panel against the wall according to your layout marks. Start from the planned bottom section and work across the wall.
Step 3: Press and adjust
Press the panel evenly against the wall to ensure good contact with the adhesive. Use a level to check alignment and adjust the position before the adhesive sets.
Step 4: Allow the adhesive to cure
Follow the recommended curing time before moving or putting pressure on the panels. Temporary support may be needed during curing, depending on the adhesive and panel design.
5. Finish Joints, Corners, and Edges
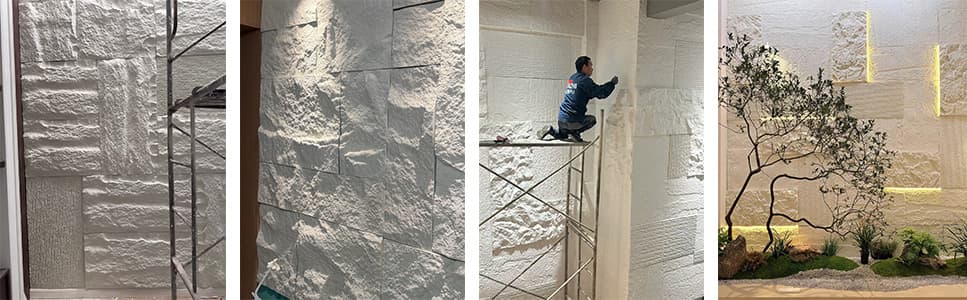
Careful finishing makes a big difference to the final appearance and outdoor performance.
· Panel joints: Align adjacent panels properly and follow the product's recommended joint treatment.
· Corners: Use matching corner pieces where available, or carefully cut the panels for a neat connection.
· Windows and doors: Pay attention to the edges around openings and ensure proper integration with the building's waterproofing details.
· Top and bottom edges: Use suitable flashing or edge protection where needed to prevent water from entering behind the cladding.
Remember that PU stone panels are decorative wall cladding, not a replacement for the building's waterproofing system.
6. Common Mistakes to Avoid
When installing PU stone panels outdoors, avoid these common mistakes:
· Using the wrong adhesive: Not all construction adhesives are suitable for PU materials or exterior applications. Check compatibility before use.
· Ignoring wall preparation: Dust, loose paint, and unstable surfaces can reduce bonding strength.
· Applying adhesive incorrectly: Different panel backside structures may require different adhesive placement.
· Ignoring exterior details: Poorly finished joints, corners, and edges may allow water to enter behind the panels.
Proper preparation and installation help achieve a better and more durable result.
Why Choose FORNVO PU Stone Panels?
FORNVO manufactures lightweight PU stone panels for both interior and exterior decorative applications.
Our products offer:
· Lightweight Design: Easier to handle, transport, and install than natural stone.
· UV Resistance: Designed to resist UV exposure and help maintain their appearance outdoors.
· Water Resistance: Suitable for exterior decorative applications when properly installed.
· Heat Resistance: Designed to withstand normal high-temperature conditions.
· Realistic Stone Textures: A variety of designs for different architectural styles.
Looking for a PU stone panel supplier for your next exterior project? Contact FORNVO to explore our product range, request samples, or discuss your project requirements.
Frequently Asked Questions
Can PU stone panels be installed on exterior walls?
Yes. FORNVO PU stone panels are designed for interior and exterior decorative applications. Proper surface preparation and installation are important for long-term performance.
What adhesive should I use for exterior PU stone panels?
A suitable exterior-grade construction adhesive is recommended. Compatible Sika adhesive products can be considered, depending on the panel and wall substrate.
Are PU stone panels waterproof?
PU stone panels have water-resistant properties. However, proper joint treatment and building waterproofing details are still necessary for exterior applications.
Continue reading
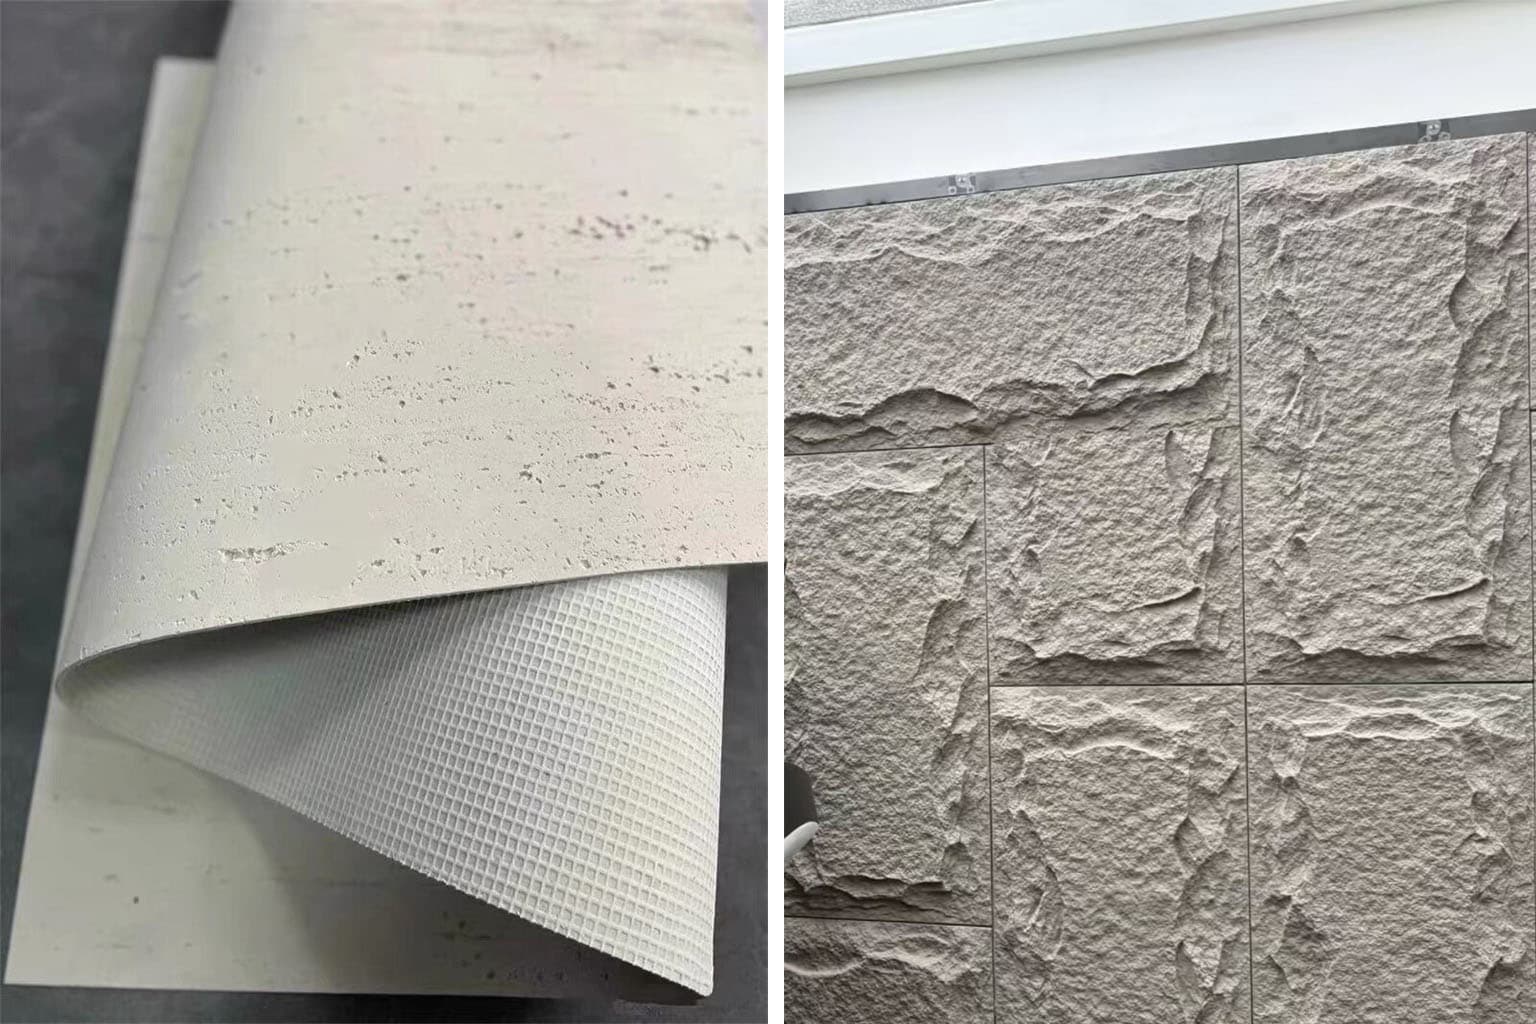
PU Stone vs. MCM Flexible Stone: Which Is Better for Your Project?
Compare PU stone vs. MCM flexible stone to understand their key differences in materials, design flexibility, durability, and applications. Discover which wall cladding solution best suits your interior, exterior, or commercial project.
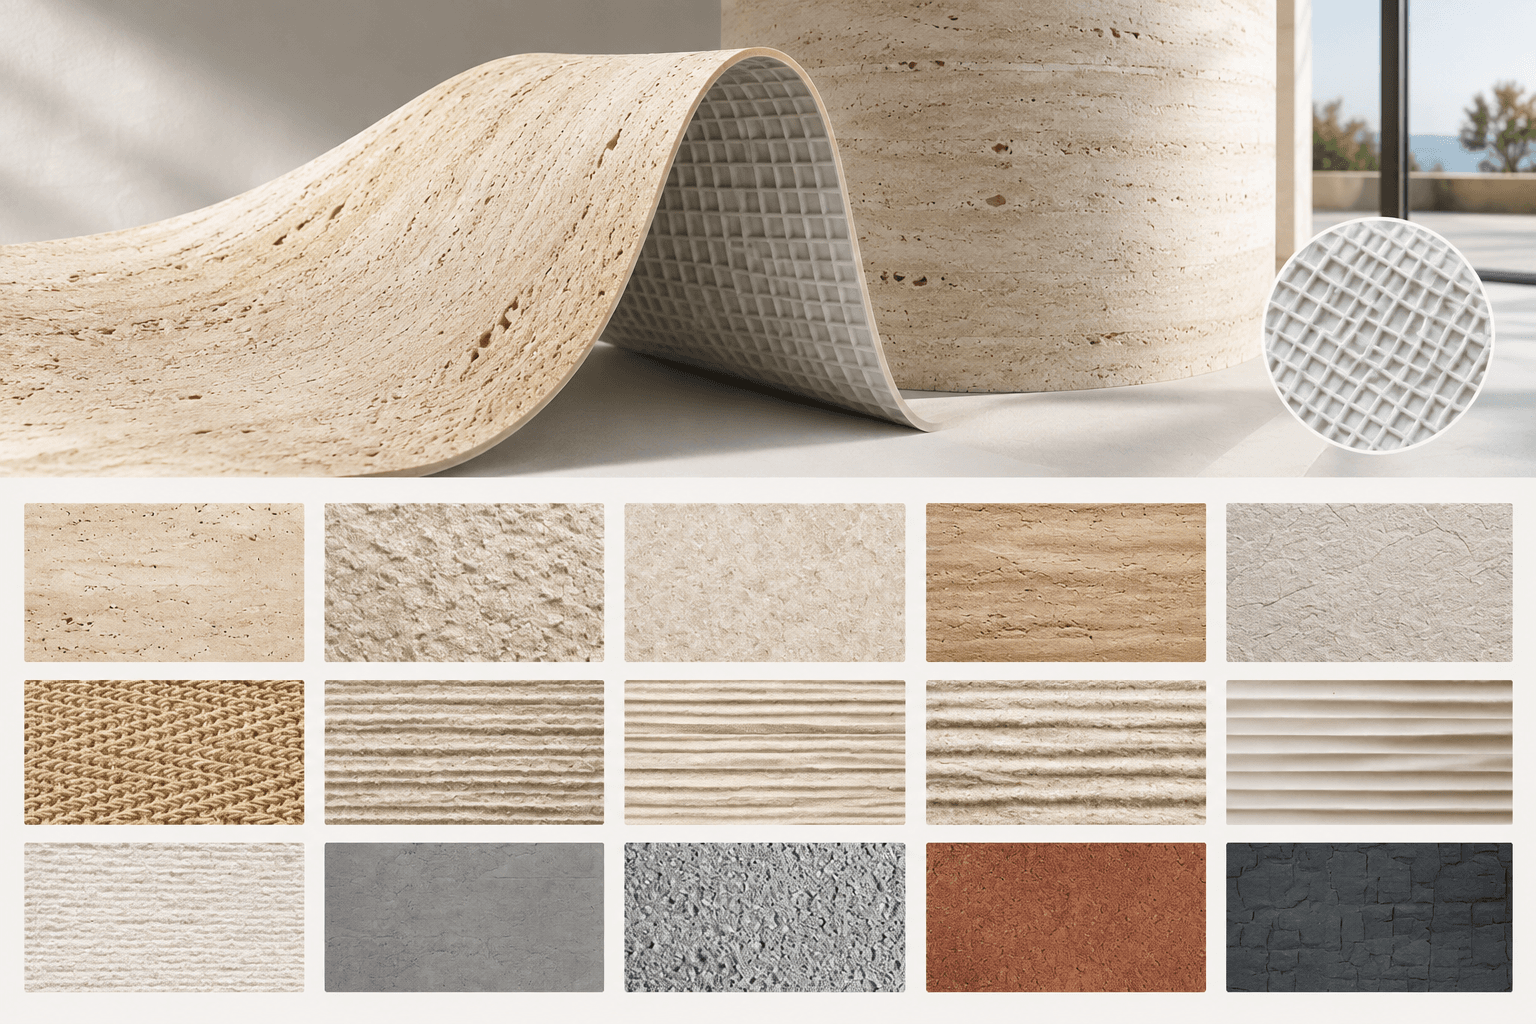
What Is MCM Flexible Stone? A Guide to Soft Stone Wall Cladding
Discover MCM Flexible Stone, a lightweight and flexible wall cladding solution with natural stone textures, ideal for interior, exterior and curved surfaces.
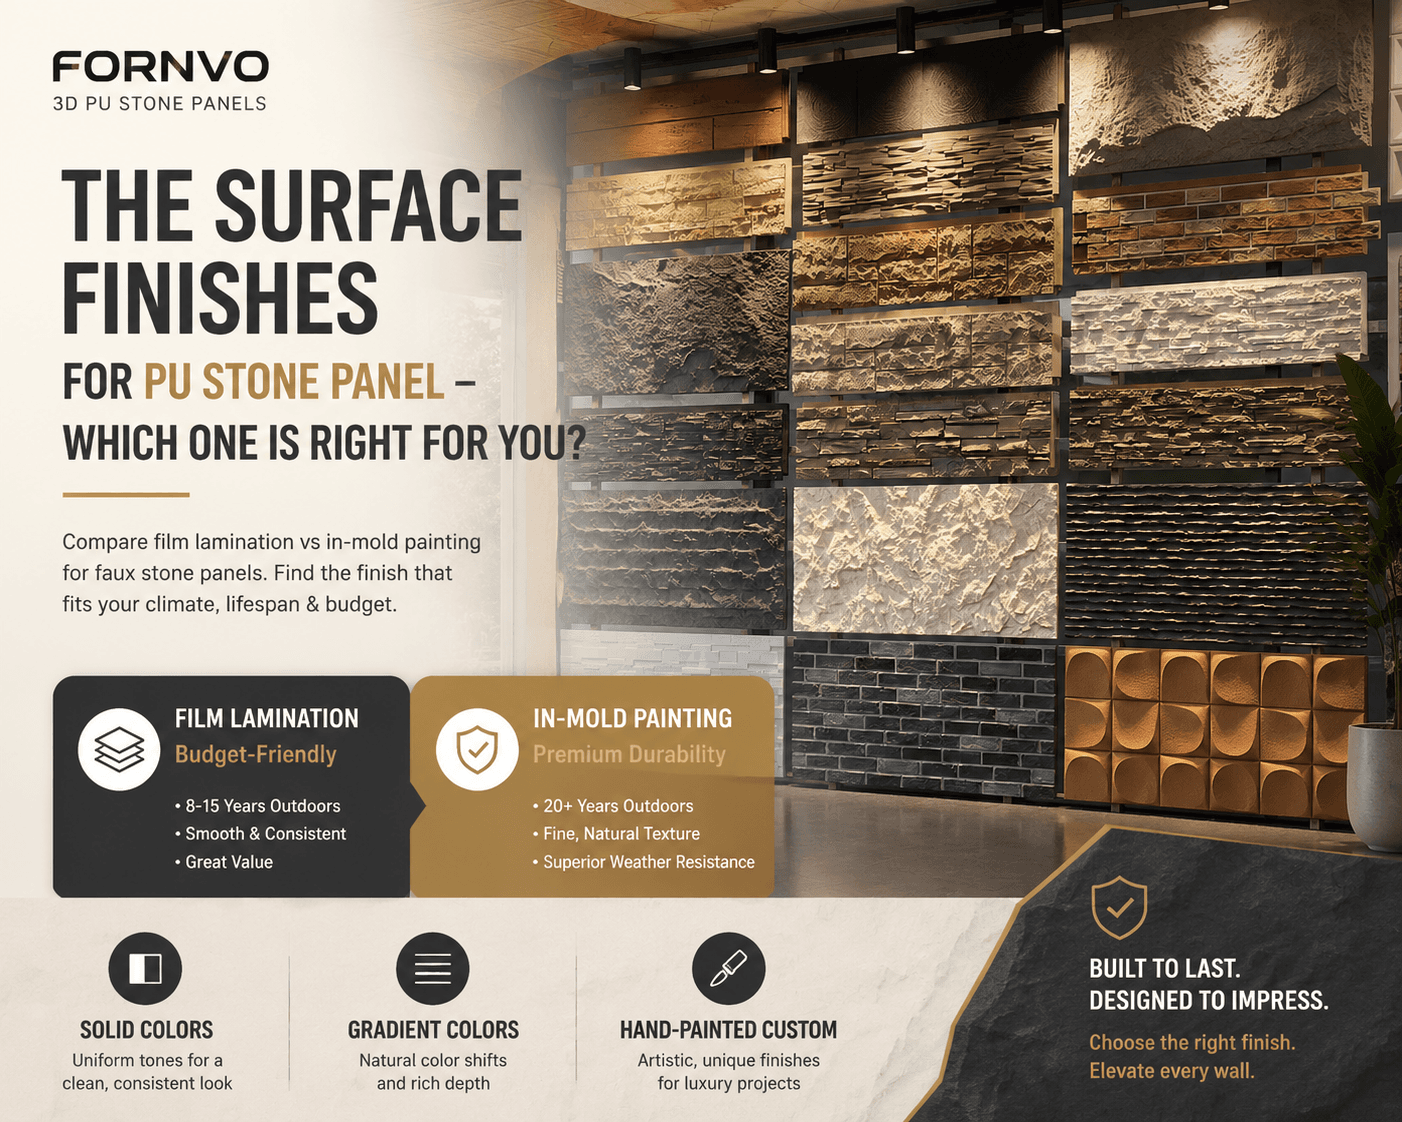
The surface finishes for PU Stone Panel – Which One Is Right for You?
Compare film lamination vs in-mold painting for faux stone panels. Learn which finish lasts 20+ years outdoors and which fits your budget. Quick, clear, actionable.